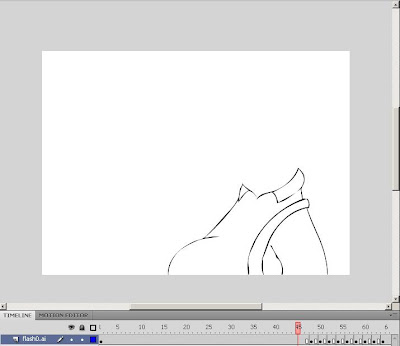
Here is a comparison I found between Flash and Illustrators live trace functions, showing the difference in how you can use them.
http://www.http.com//edutechwiki.unige.ch/en/Flash_bitmap_tracing_tutorial
(Edited: that link appears to be down now but fortunately Daryl saved the webpage to his blog)
http://drtani303.blogspot.com/2009/04/tutorial-for-illustrator.html
This was definitely a nice tutorial to help us understand how the live tracing works but more experimentation is required in order to find the best use of this tool.
After looking into it myself I have found that the best way to use illustrators live trace for our 2D images is ‘One Color Logo’. This converts it to vector whilst keeping it slightly rough look which is nice evidence of it being hand drawn, but also makes it look slightly more straight and curvy as a vector image would look which is fine. Cleanup will inevitably be needed still in flash to remove random fragments of drawing around and inside the lines, but this is still the best function so far for producing a nice trade off between computerized and hand drawn imagery for the film.
After using this technique to convert the image to vector it can then be simply dragged into an open flash file and imported as a vector image in flash.
This window the comes up. I find it important to select these options as shown. Maintain layers by default is on, but i switch it off because otherwise it keeps whatever layers you have in illustrator and moves them into flash. Obviously we don’t have any layers in the illustrator file, although it will create a new separate layer with the new image if this is selected. So to stop a massive build up of separate layers i leave this off.
With this new file you then right click and select ‘break apart’. After doing this a few times it will be completely broken down to simple flash vector geometry.
The image can then be manipulated just like any other flash vector image, which means colouring it in is relatively simple. The only thing that isn’t simple is when gaps occur in the drawings. These need to be filled manually in flash before filling it with colour.


No comments:
Post a Comment